Project - RetroPie retro gaming setup with Raspberry Pi 4
I created the ultimate Raspberry Pi 4 based RetroPie gaming setup, capable of running Dreamcast, PS1 and N64 games flawlessly. Here's what I did.
Now that RetroPie officially supports Raspberry Pi 4, I created the ultimate Raspberry Pi 4 based RetroPie gaming setup, capable of running Dreamcast, PS1 and N64 games flawlessly. Here's what I did.
The aim of the project
The ultimate goal is to create a RetroPie based gaming computer based on a Raspberry Pi. It was important for me that gameplay was authentic with an aim to play games on emulators right up to and including 6th generation. Specifically, I wanted to be able to play Sega Genesis/Megadrive, Super Nintendo, N64, PlayStation 1 and Sega Dreamcast games on my Raspberry Pi.
RetroPie is a pre-configured distrobution built on top of Raspbian OS, using emulators to create a retro gaming machine.
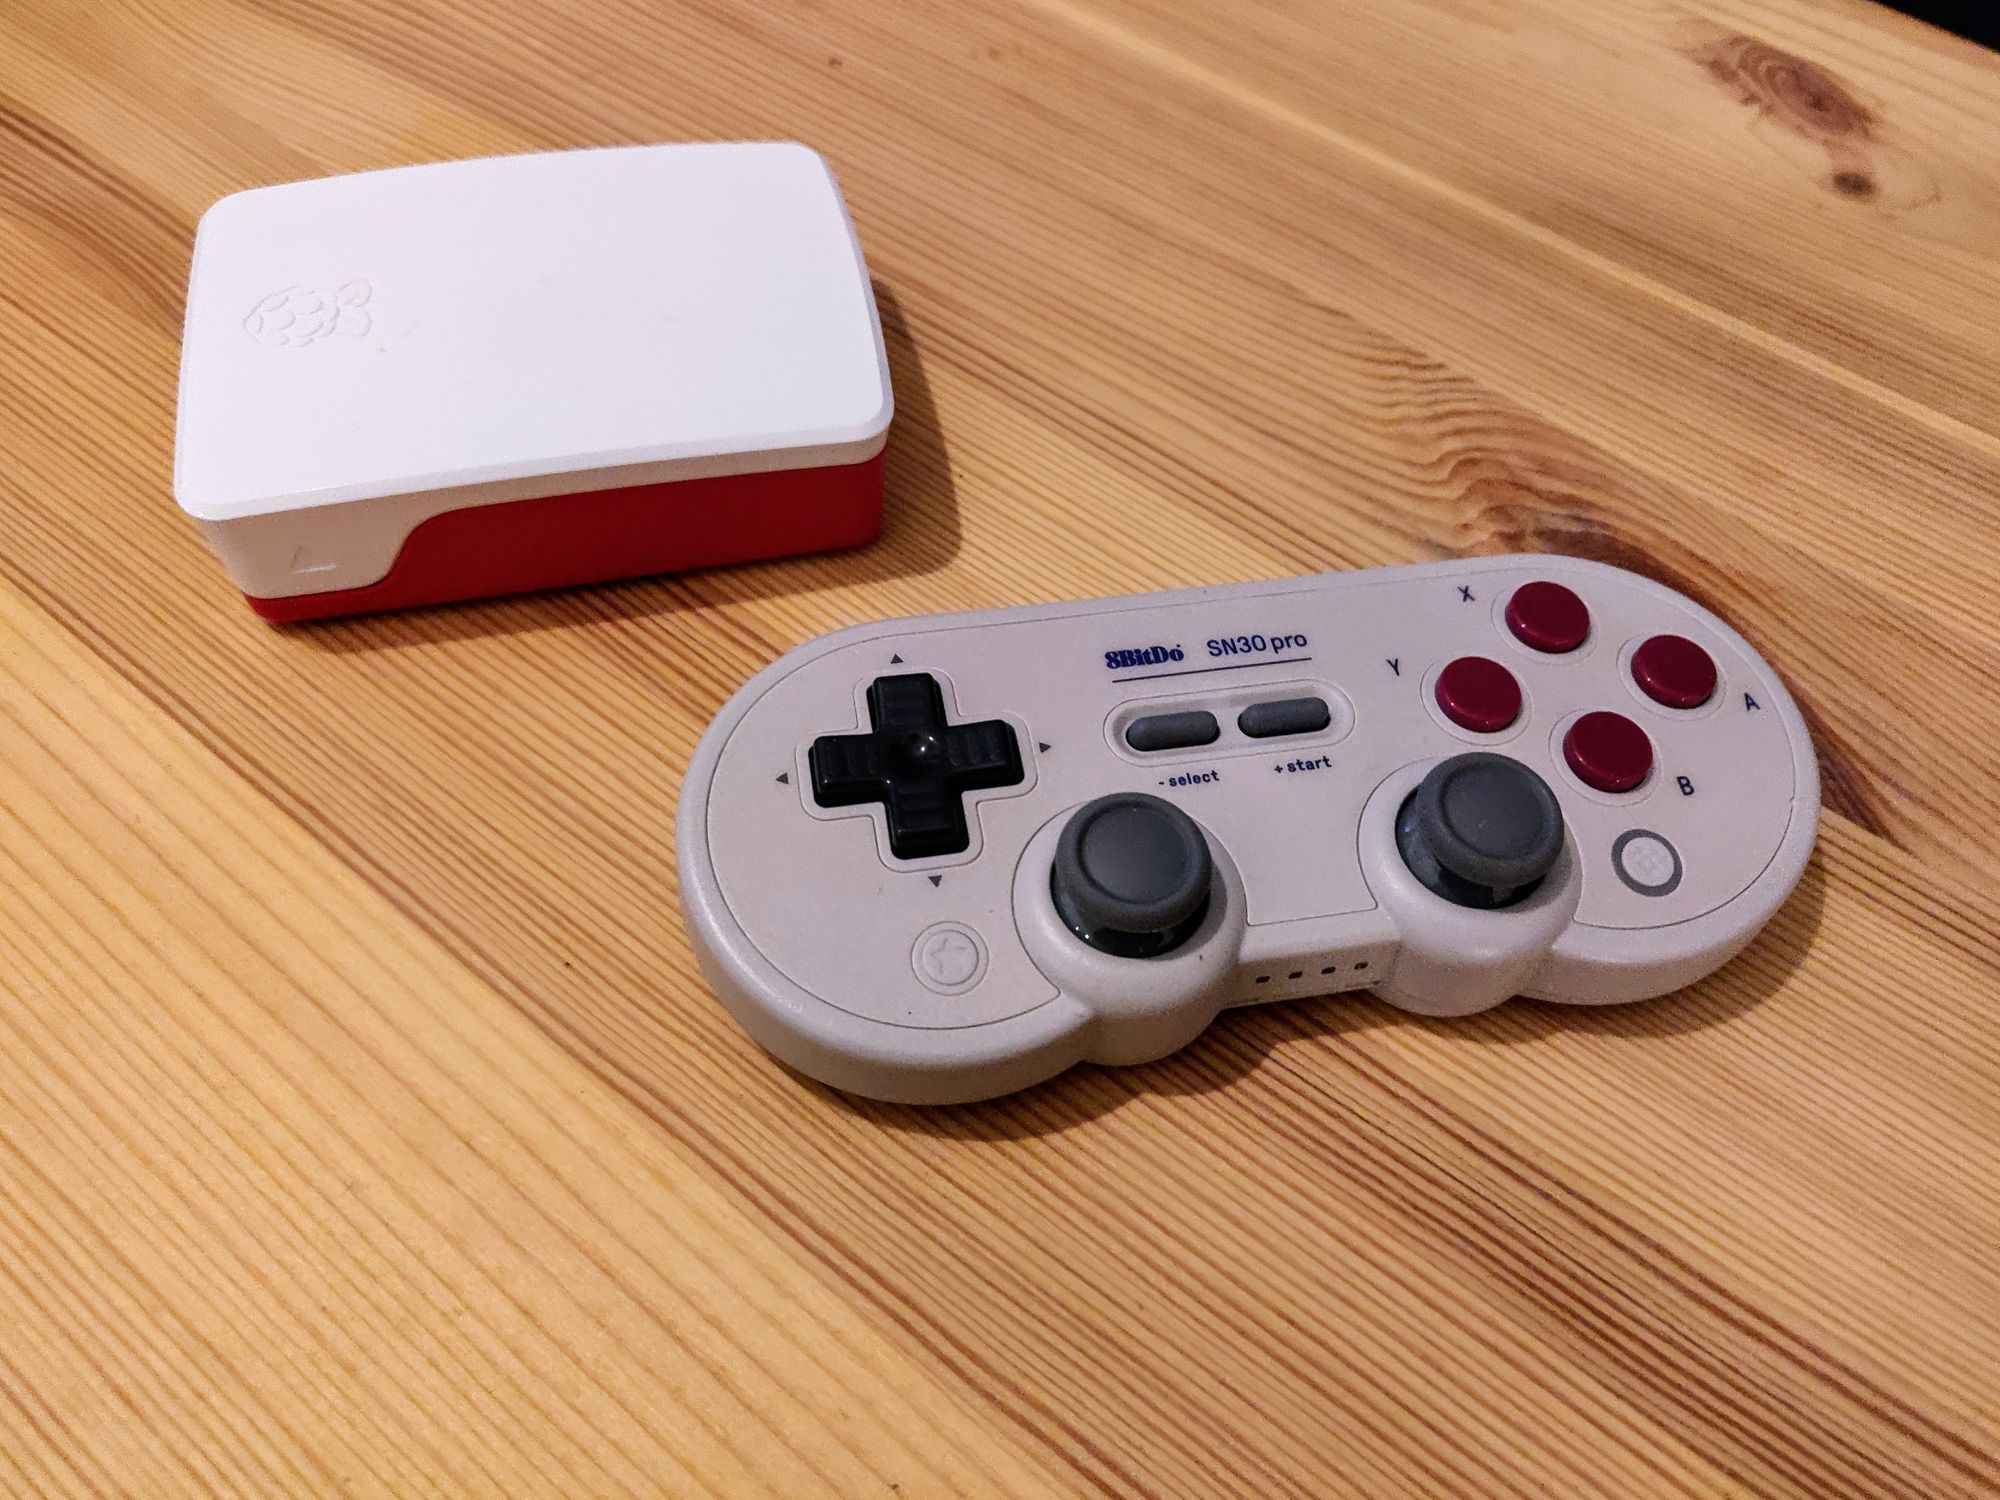
The Gamepad
I eventually settled on the excellent SN30 Pro Bluetooth controller from 8BitDo. This controller's build quality matches, if not exceeds that of OEM games console build quality, while oozing a retro feel while introducing triggers, share buttons and analogue sticks. You can pick these up for around £40/$35.
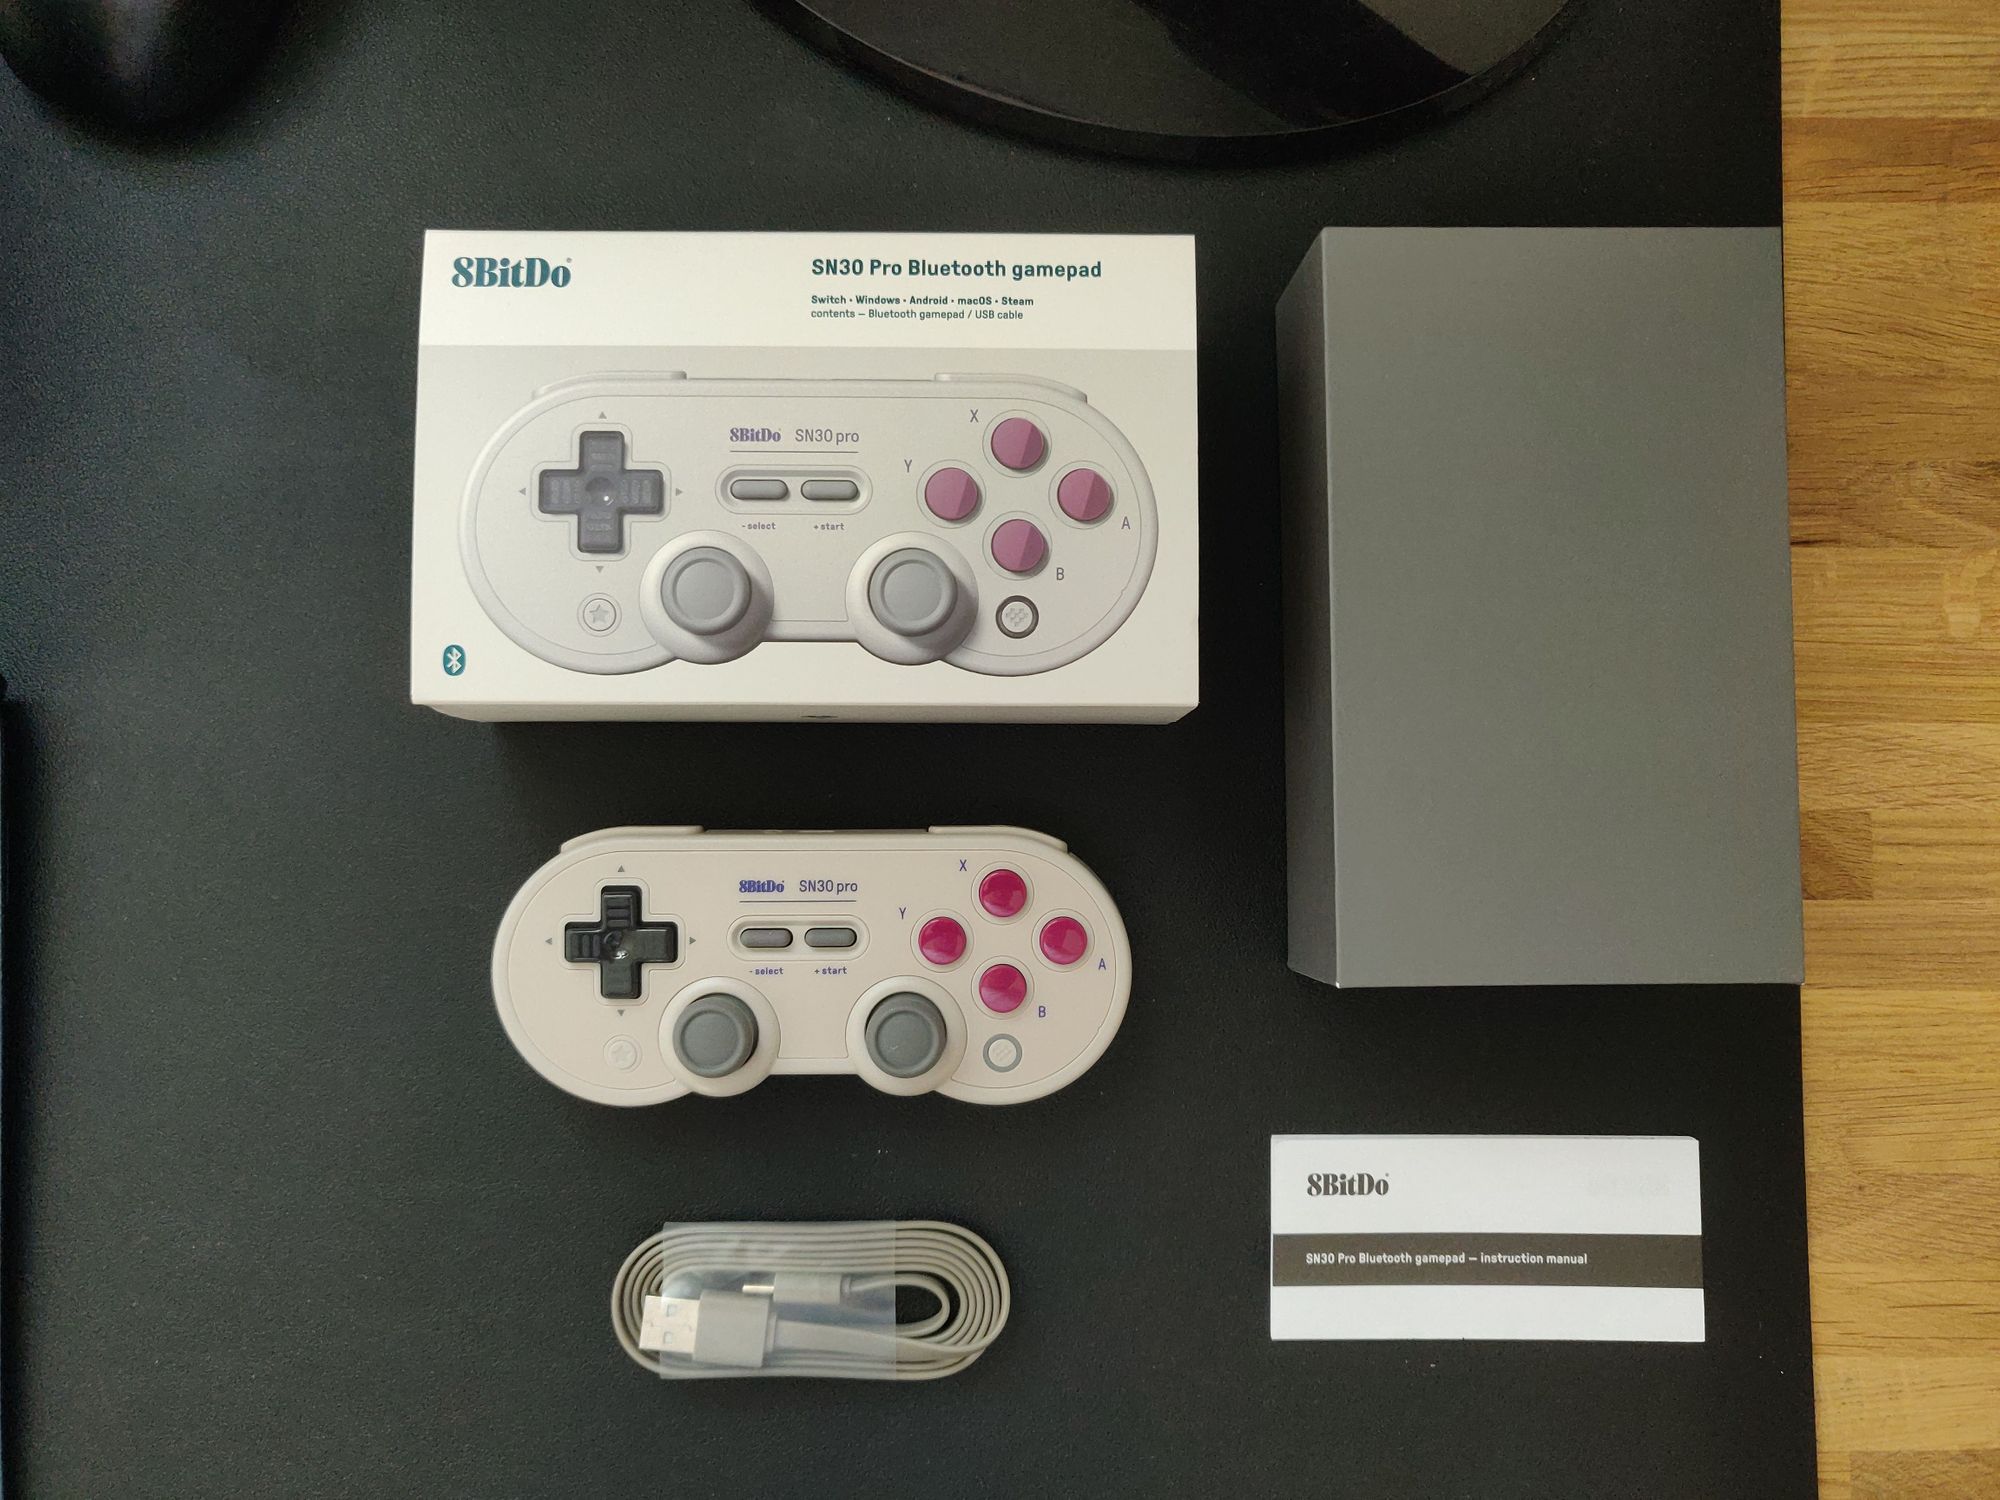
The 8BitDo controller paired via bluetooth with absolutely no issues whatsoever, and after at least 10 hours of gameplay, my SN30 Pro is yet to need a charge.
The Raspberry Pi
As mentioned in the title, I'm using a Raspberry Pi 4 with the latest release of RetroPie installed. I've opted to install to a SanDisk Extreme A2 rated MicroSD card to ensure maximum performance. I would recommend running from an external SSD if you can. I've written a tutorial on how to do this if you wanted to use SSD for RetroPie over a MicroSD.
My Raspberry Pi 4 is the 4GB RAM Model B, although you should be fine with the 2GB Model B model. I'd not recommend going lower than this if you wanted to emulate a Dreamcast or N64.
Overclocking the Raspberry Pi 4
In order to play post 16bit era emulators such as the PlayStation 1, Nintendo N64 or Sega Dreamcast on Raspberry Pi, you will need to overclock yours. I've written a tutorial on how overclock a Raspberry Pi 4 and shared my experience of keeping it cool.
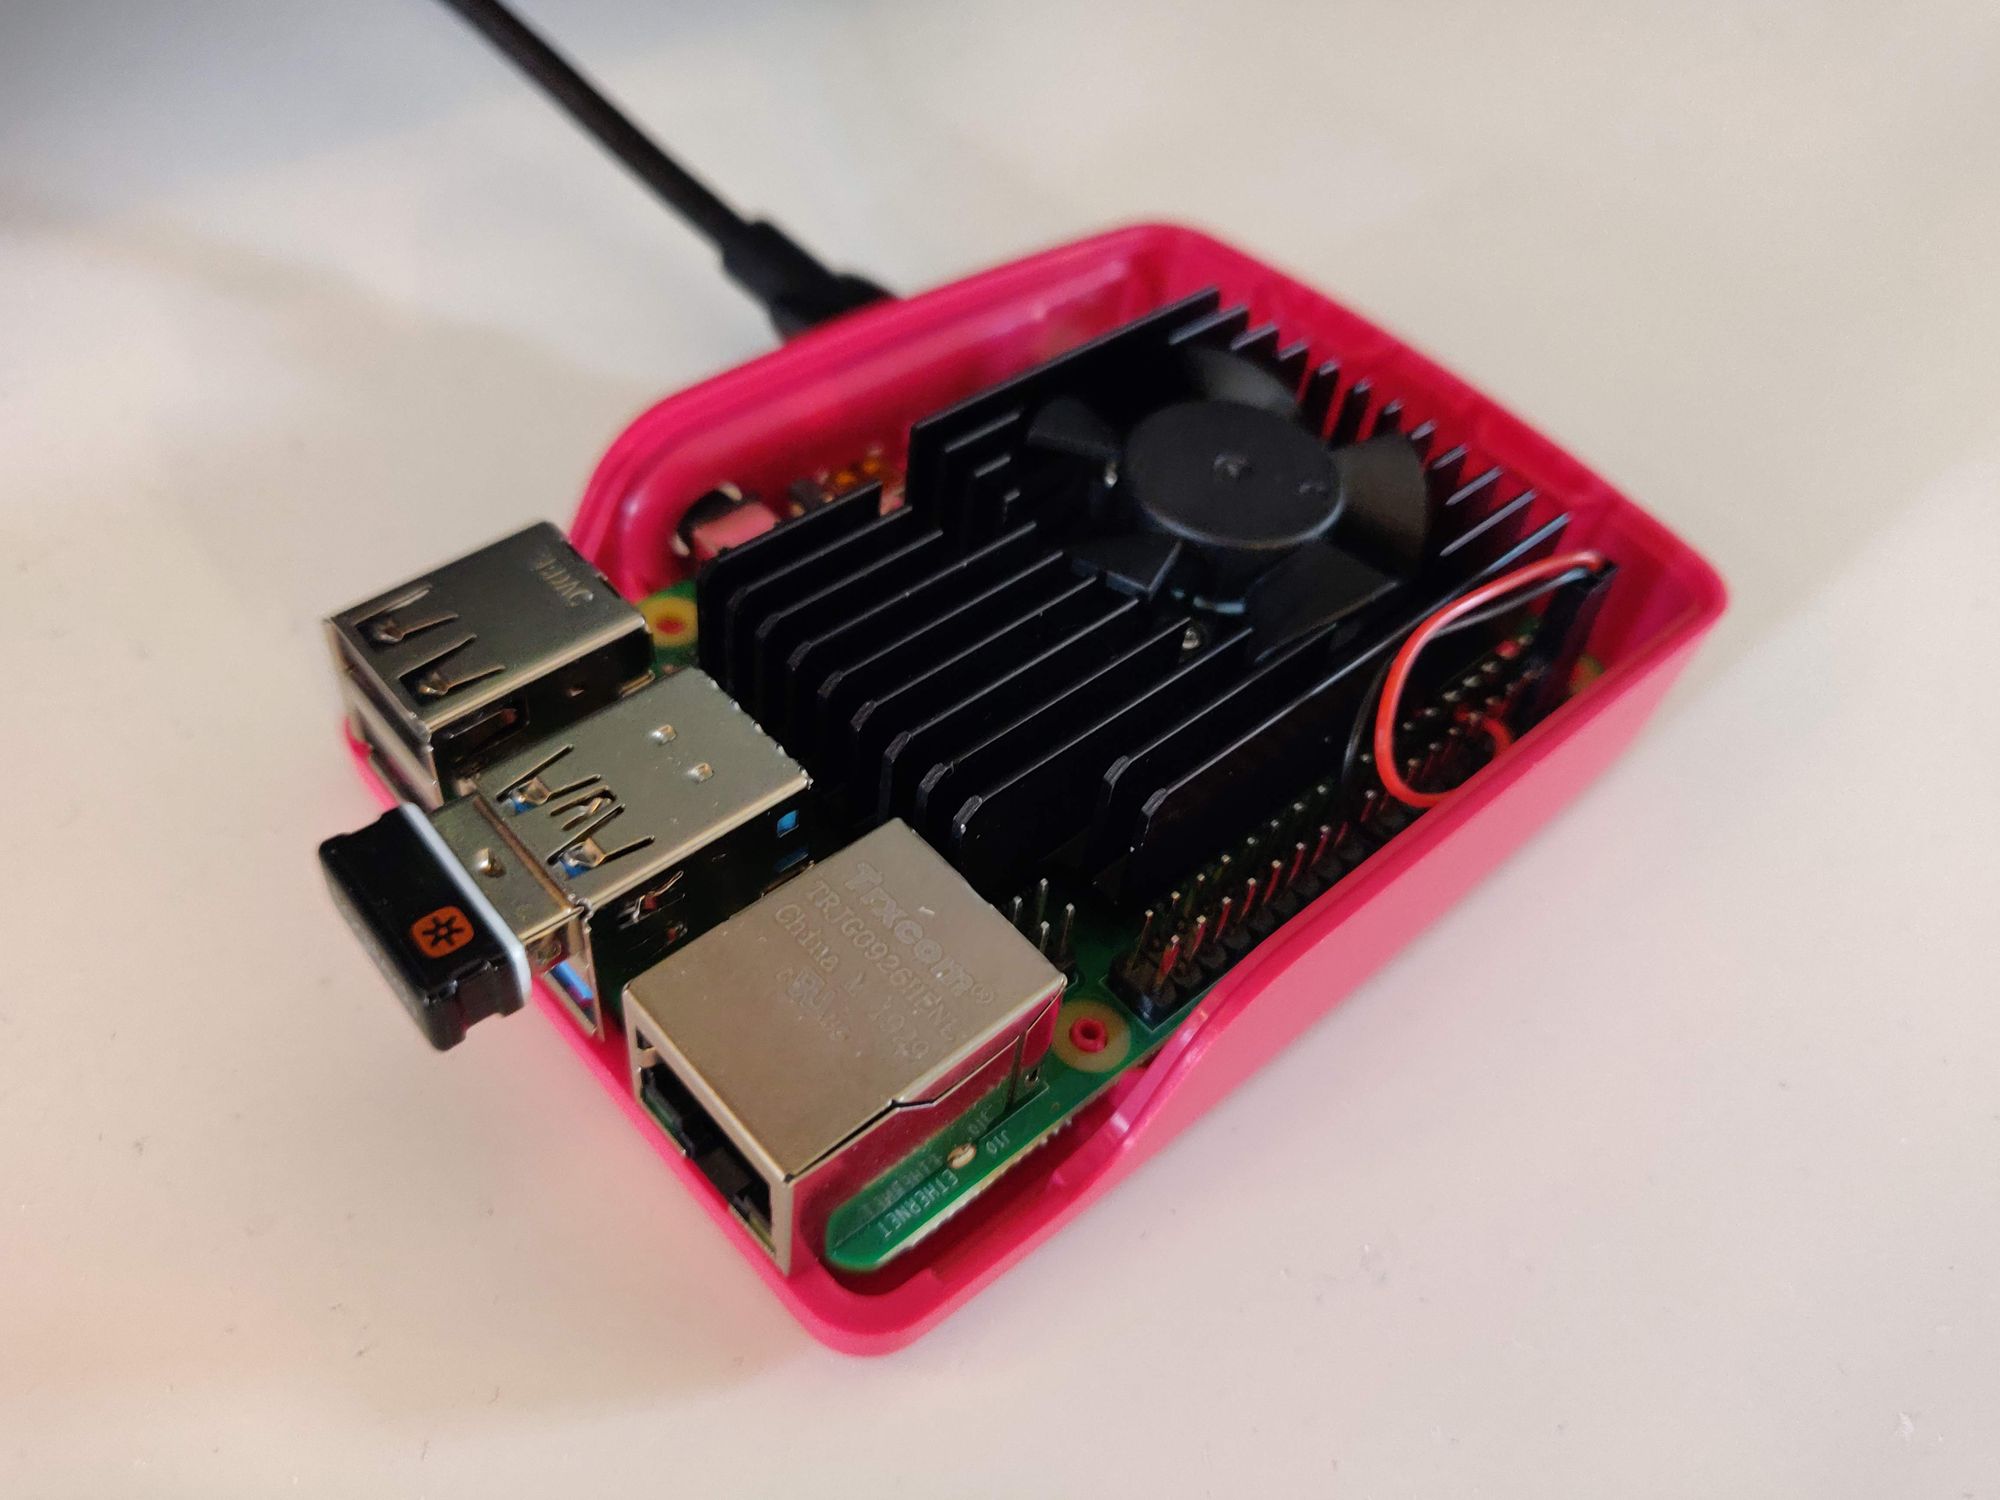
I first tried some cheap heatsinks I had laying around with the overclock, but quickly found the system overheated and crashed. I found the GeeekPi heatsink and built-in fan was a great solution for keeping the Raspberry Pi 4 cool while overclocking to an impressive 2.1GHz on the CPU and 750MHz on the GPU.
Emulating Dreamcast games on Raspberry Pi 4
Without overclocking the Raspberry Pi 4, I wasn't able to play Dreamcast games on my Raspberry Pi 4. However, when overclocked and kept cool, the Raspberry Pi is more than capable of playing Dreamcast games at 60 frames per second.
Above is my gameplay of Crazy Taxi running on a Dreamcast Emulator at 60fps on a Raspberry Pi. The gameplay is super smooth.
Emulating N64 games on a Raspberry Pi 4
Yet again, smooth playback of N64 games required the Raspberry Pi to be overclocked. I managed to play Mario 64 in a Raspberry Pi smoothly when overclocking and keeping the Raspberry Pi cool.
Conclusion
With an initial outlay less than the cost of a SNES Mini, Genesis/Megadrive Mini or PlayStation Mini, you can reliably play games from across all these consoles, free of wires.
RetroPie continues to get better and better, so with the extra power from overclocking a Raspberry Pi 4, we can get some great results.