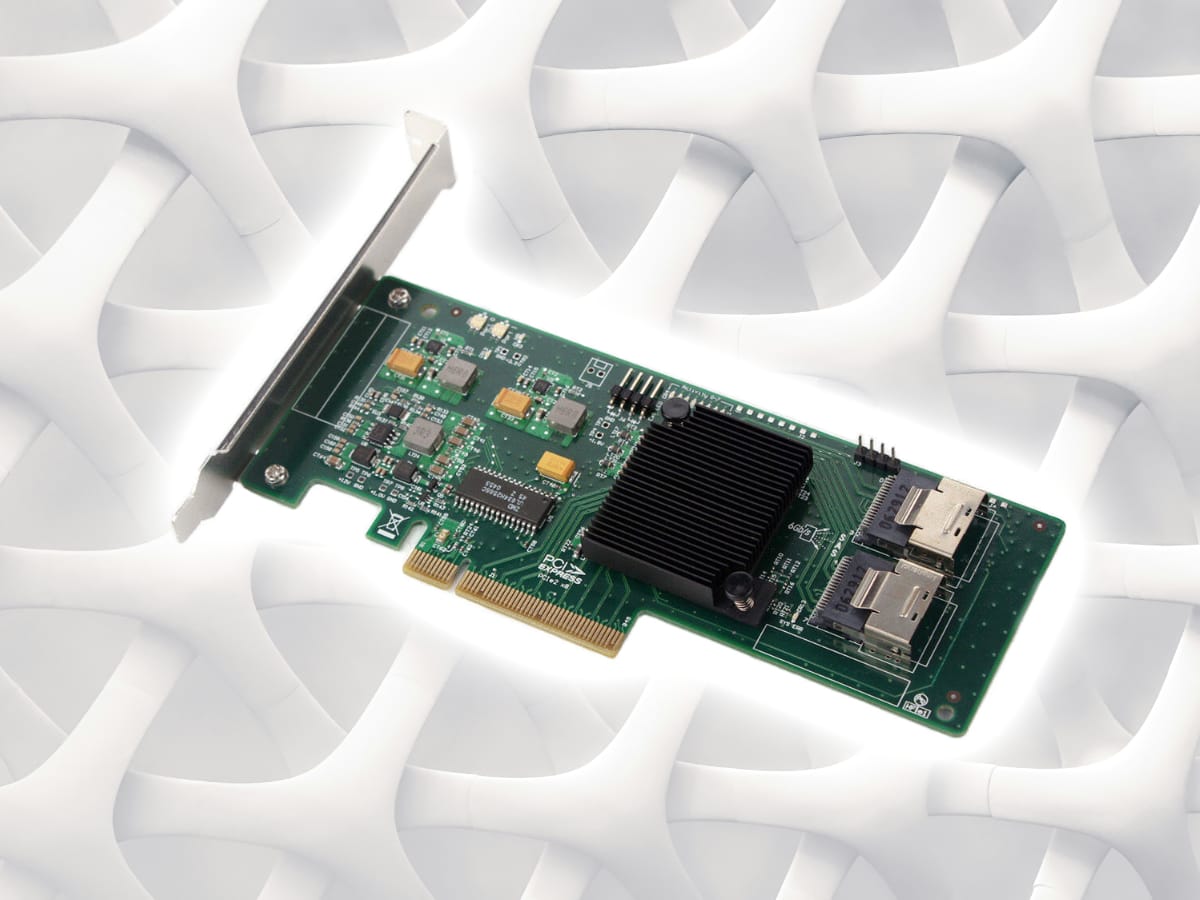
Tutorial: Flash LSI 9211-8i with IT Firmware for TrueNAS
Learn how to flash a LSI 9211-8i HBA card with the IT firmware for use with FreeNAS

In this tutorial, I'll go over the steps to flash an LSI 9211-8i SAS HBA card in IT mode for use on a TrueNAS server.
Using a PCIe SATA Adapter with TrueNAS - don't!
Learn from me - I learned the hard way. Cheap PCIe SATA adapters do not play ball with TrueNAS, especially if you have a mirrored pool like I did. They cannot cope with the IO operations that TrueNAS throws at them and you could end up with a degraded pool (like I did). The answer is an SAS HBA card.
What is a SAS HBA card?
'Serial Attached SCSI Host Bus' (SAS HBA) provides additional SATA interfaces via the onboard SAS ports. In short, an enterprise storage interface ideal for TrueNAS.
Why do I need to flash my SAS HBA card with TrueNAS?
From factory, they're configured as RAID controllers (IR mode). TrueNAS uses ZFS, a filesystem which makes use of software RAID. As such, need to flash our SAS HBA card with the IT firmware (Initiator Target).
Why the LSI 9211-8i?
In short, for my use case, it's cheap and does exactly what I need to do for my use case. It offers two SAS interfaces with a max 6GBPS throughput, which is fine for my cold storage needs.
How to flash LSI 9211-8i with IT firmware
I sank a lot of time following tutorials online with no luck whatsoever. My aim is to save you the headache that I had to go through to get the LSI 9211-8i flashed with the IT firmware. Many were written over 7 years ago, so are littered with broken links or don't work with modern-day UEFI-based systems.
⚠️ Warning: Follow this tutorial at your own risk. Flashing firmware can cause irreparable damage to your hardware.
What you'll need
- A USB Flash drive
- Another PC or laptop to prepare the flash drive
Step 1 - Prepare the USB Flash drive
One area I had issues with was following tutorials telling me to flash a USB flash drive with FreeDOS and running sas2flsh.exe. This plain didn't work and I encountered the error:
sas2flsh error: Failed to initialize PALAfter spending way too much time hitting walls, I decided to go down a pure UEFI shell approach instead.
To begin, download Rufus and set it up with the following options:

- Boot selection: Non bootable
- Partition scheme: GPT
- Target system: BIOS or UEFI
Now we need to download a UEFI shell and the firmware to flash onto the LSI 9211-8i to get it running in IT mode. I've prepared a GitHub repository with all the files you'll need. Simply clone the repo or download the files from there.
Copy the files from the repo to your USB flash drive.
Step 2 - Booting from the USB Flash Drive
⚠️ Important! You must disable secure boot on your motherboard and choose the UEFI USB device as your primary boot device.
This varies from one motherboard manufacturer to another, so refer to support to find out how to do this. Once you're configured, you should be booted into the EFI shell. Some tutorials I followed said to plug in your USB flash drive into a USB 2.0 port rather than a 3.0 port, but 3.0 worked just fine on mine.
Step 3 - Flashing the new firmware
Ensure you can see your LSI 9211-8i by running the following command:
sas2flash.efi -listallYou should see your device listed. Let's go ahead and clear the existing firmware:
sas2flash.efi -o -e 6You should see an output similar to this:
sas2flash.efi -o -e 6

	Advanced Mode Set

	Adapter Selected is a LSI SAS: SAS2008(B2)

	Executing Operation: Erase Flash

	Erasing Flash Region...

	Erase Flash Operation Successful!

	Resetting Adapter...
	Reset Successful!

	Finished Processing Commands Successfully.
	Exiting SAS2Flash.
Now it's time to flash the new firmware onto your LSI SAS card:
sas2flash.efi -o -f 2118it.bin -b mptsas2.romYou should see an output similar to this:
sas2flash.efi -o -f 2118it.bin -b mptsas2.rom

	Advanced Mode Set

	Adapter Selected is a LSI SAS: SAS2008(B2)

	Executing Operation: Flash Firmware Image

		Firmware Image has a Valid Checksum.
		Firmware Version 20.00.04.00
		Firmware Image compatible with Controller.

		Valid NVDATA Image found.
		NVDATA Version 14.01.00.00
		Checking for a compatible NVData image...

		NVDATA Device ID and Chip Revision match verified.
		Valid Initialization Image verified.
		Valid BootLoader Image verified.

		Chip is in RESET state. Attempting Host Boot...
		Firmware Host Boot Successful.

		Mfg Page 2 Mismatch Detected.
		Writing Current Mfg Page 2 Settings to NVRAM.
		Updated Mfg Page 2.

		Resetting Adapter...
		Adapter Successfully Reset.

		Chip is in RESET state. Performing Host Boot...
		Firmware Host Boot Successful.

		Beginning Firmware Download...
		Firmware Download Successful.

		Resetting Adapter...
		Adapter Successfully Reset.

	Executing Operation: Flash BIOS Image

		Validating BIOS Image...

		BIOS Header Signature is Valid

		BIOS Image has a Valid Checksum.

		BIOS PCI Structure Signature Valid.

		BIOS Image Compatible with the SAS Controller.

		Attempting to Flash BIOS Image...

		Verifying Download...

		Flash BIOS Image Successful.

		Updated BIOS Version in BIOS Page 3.

	Finished Processing Commands Successfully.
Finally, let's just sense-check everything and ensure we can see our LSI SAS card with the correct versions:
sas2flash.efi -listallThat's it, done. Connect your drives and boot up FreeNAS. I was able to see my pool that's connected via the SAS HBA card:

Conclusion
I hope I saved you the pain that I experienced trying to do this in 2024. The process may be the same for other LSI SAS HBA cards, but obviously, be sure to use the correct firmware for your card, which can be downloaded from Broadcom.

