Install MySQL Server on your Raspberry Pi
Learn how to install MySQL server on a Raspberry Pi 3 for an ultimate low-cost database server.

I'm writing this article following a number of requests, and a bit of a follow-up to a previous tutorial "Turn your Raspberry Pi 3 into a PHP 7 powered web server". This tutorial will guide you through steps to install MySQL Server on your Raspberry Pi.
A bit of a word of warning
As mentioned in my replies to a few comments, I don't recommend running MySQL Server on a Raspberry Pi unless you have a high-quality, high-speed USB flash drive (preferably) or a UHS1/UHS3 class MicroSd card from which you run Raspbian OS. You might want to look at a previous tutorial to learn how to run your Raspberry Pi from a USB Flash drive.
Step 1 – Install MySQL Server
The first thing to do before anything is to ensure that all updates and upgrades are installed. Run the following command:
sudo apt-get update && sudo apt-get upgrade
Once all the updates are installed, we're ready to install MySQL server. Start by running the following command:
sudo apt-get install mysql-server && sudo apt-get install mysql-client
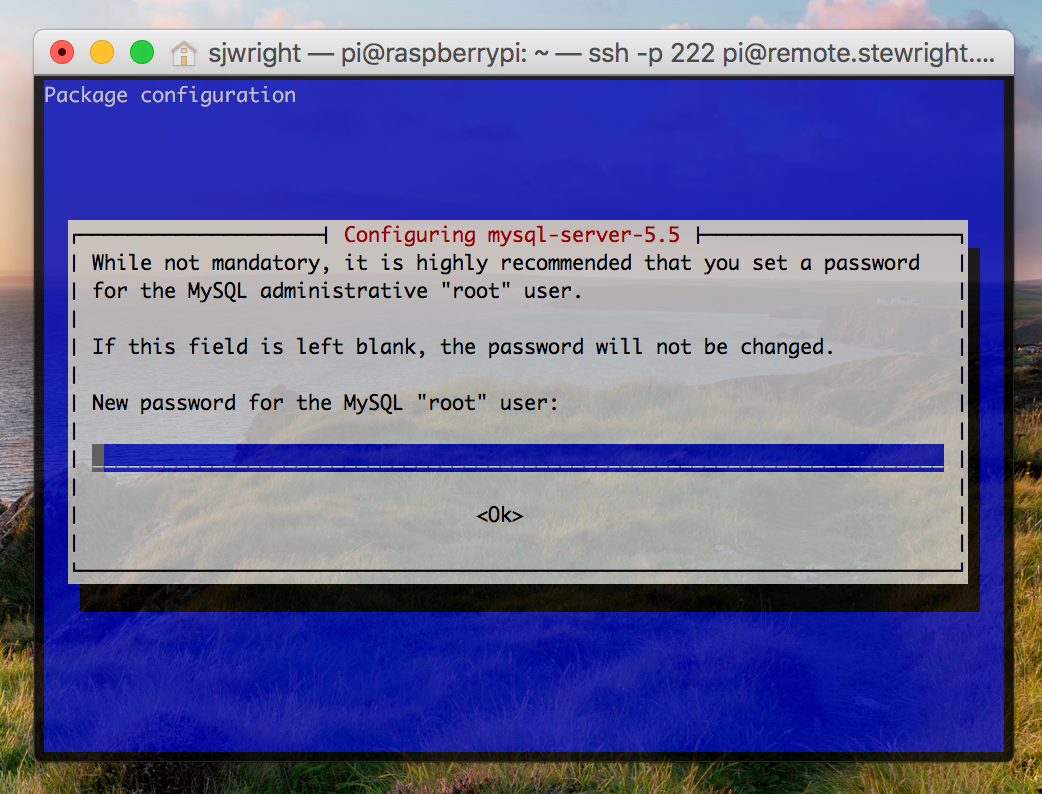
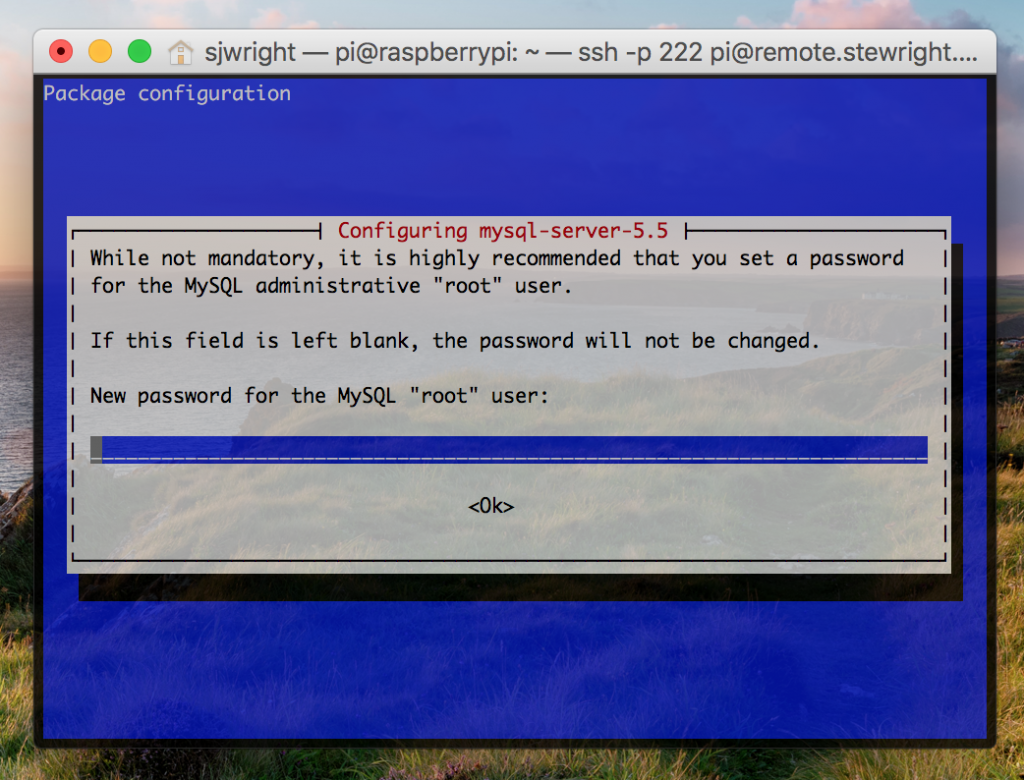
This will install the client as well as the server. The client will allow you to connect to your server from the command line which is always handy to do. After a short while, you will see this screen during the installation:

Go ahead and provide a root password. The root account is the default administration account that allows full control of the locally installed server. You'll be prompted to repeat this to confirm. Go ahead and type your password again. The installation will finish shortly after.
Step 2 – Connecting to your MySQL server locally
Now we've installed MySQL server, we will try connecting to it using the MySQL client we installed at the same time as the server. Type the following command:
mysql -uroot -p
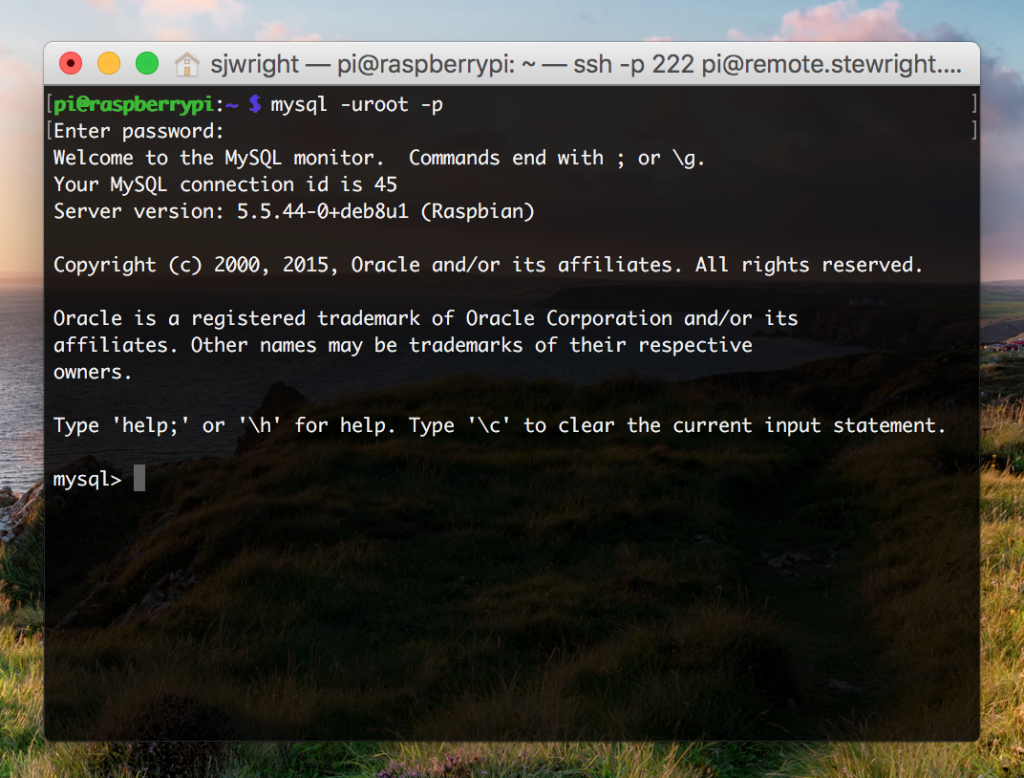
You'll be prompted for your password again to connect to your MySQL server installation. Congratulations, you're logged in. You should see something like this:

Type this command:
status;
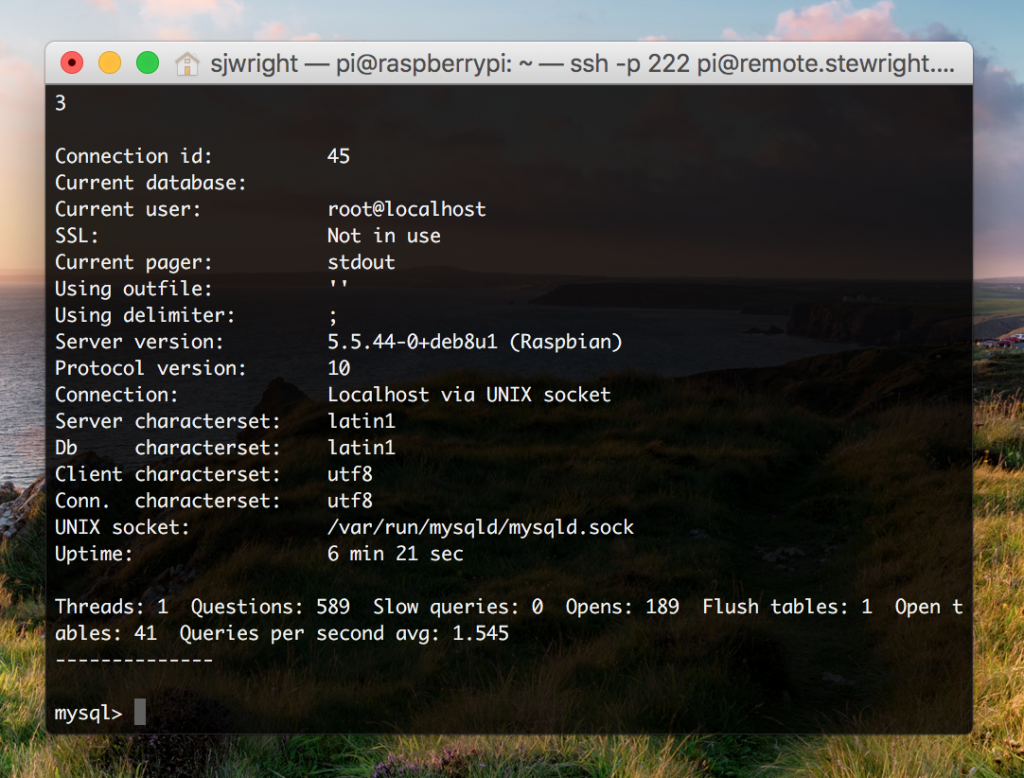
This will give you a summary. It should look a little like this:

This gives us a summary of MySQL Server running on your Raspberry Pi.
Conclusion
We've installed MySQL Server and if you've followed my previous tutorial to install Apache and PHP 7, you're ready to start serving a PHP application like WordPress.
I'll follow-up with another tutorial on installing WordPress in due time.

